Allocations
This window will display your allocation information. It will allow you to assign bookings to journeys, move bookings or trips, and create or modify bookings, trips and journeys. To allocate a Booking (left box) first select a Journey in the Journeys section (middle column) then Left Click and drag the Booking to the Allocated section (right box).
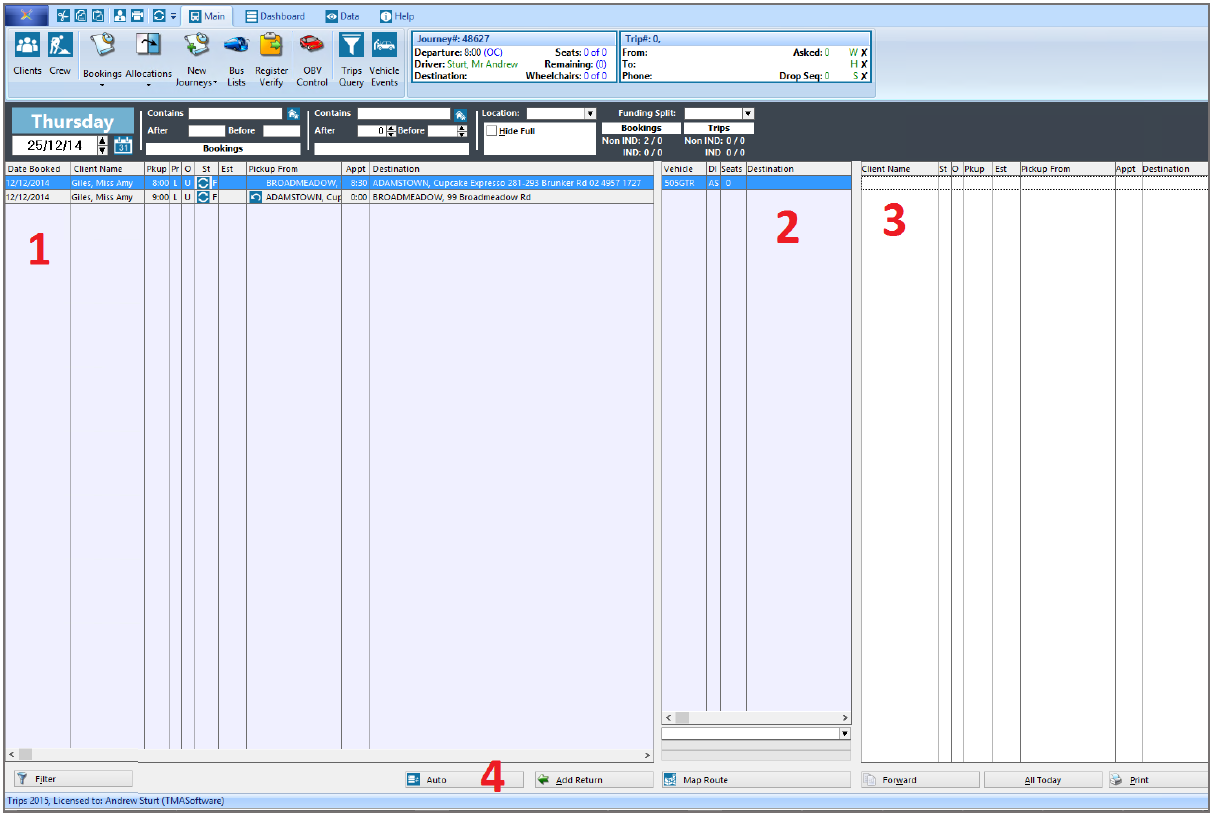
1. Unallocated bookings section2. Journey section3. Allocated Bookings and Trips section4. Auto Allocations button
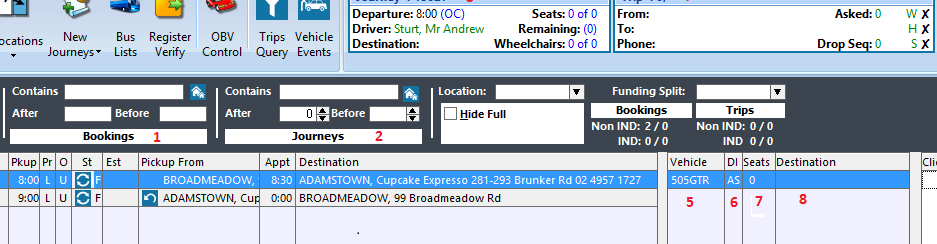
1. Filter Bookings section2. Filter Journeys section3. Selected Journey Summary4. Selected Booking/Trip Summary5. Vehicle Rego6. Driver Initials7. Number of Seats8. Destination of Journey
These buttons along the bottom of the screen may be greyed out if nothing is selected:

1. Open Filter Prompt for Bookings2. Auto allocate button3. Add return booking/Trip4. View Map of selected Journey5. Copy Forward Selected Journey and Trips6. Print All of Today’s trips7. Print selected journey’s run list8. Open Filter for Trips
9. Close Window
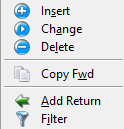
These functions can also be accessed by Right Clicking in the Booking Section.
This will display a Query option allowing you to specify the criteria for the records displayed, and save queries for future use.
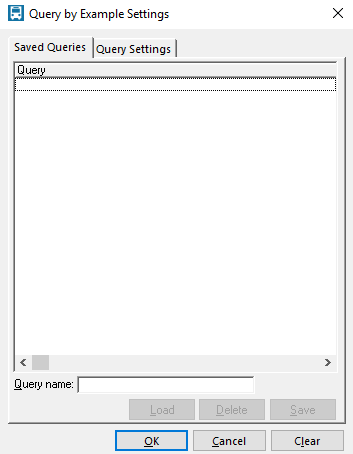
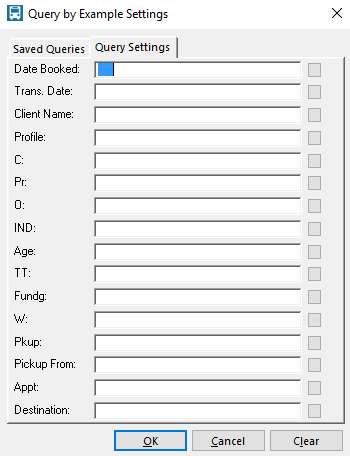
Trips Wizard
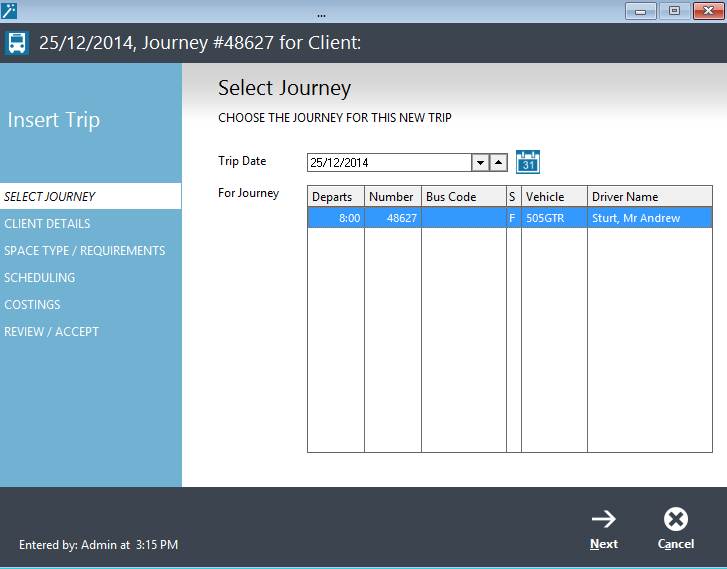
The new trip wizard is a step by step breakdown of the current trip form. Click on the Main ribbon → Allocation (the text not the icon) and choose New Trip Wizard. You can also access this by Main→ New Journeys→ New Trip Wizard.The Trip Wizard process is similar to the booking wizard process shown above except for the first step.Select the Trip date and the required journey and click next. Then follow the same process as shown on the previous page for the Booking wizard (except for the Recurring tab).
Copy Forward Function
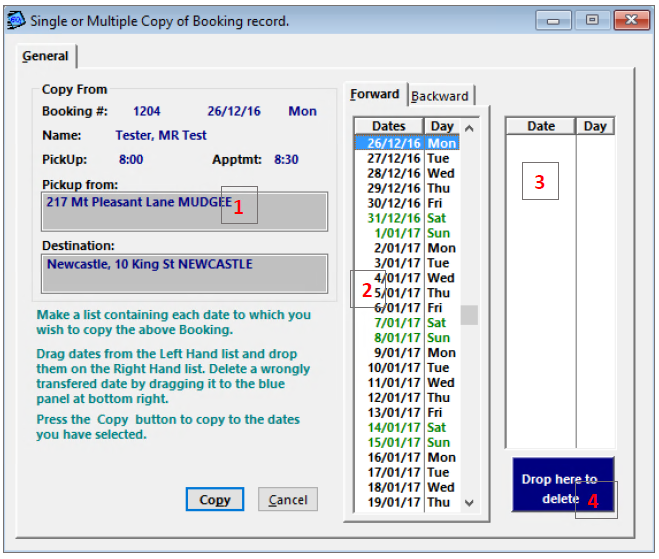
This Function is accessible from the Allocations Window and New Journeys Window. It allows a Journey and all of its clients to be copied to one or more dates in a single action.
1. Journey Summary2. List of dates3. List of dates that journey will be copied to.4. Delete box
Left click and drag the selected dates from the 1st column to the 2nd column. Click on Copy when finished.To delete a date, left click and drag it onto the Delete box.
Print All Today Function
This Function is accessible from the Allocations Window and New Journeys Window.
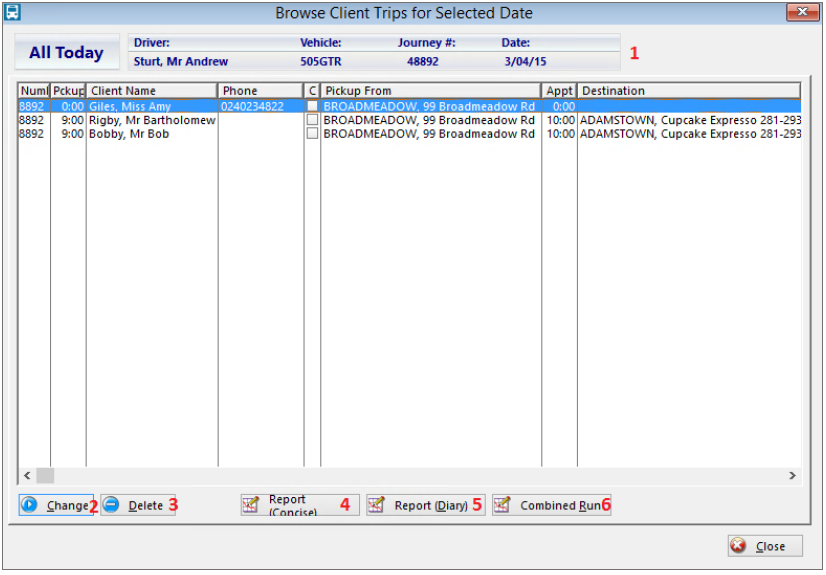
1. Journey Summary2. Change Trip Details3. Delete Trip4. Print Preview All Today Concise Report5. Print Preview All Today Diary Report6. Print Preview All Today Combined Run Report
Map Route
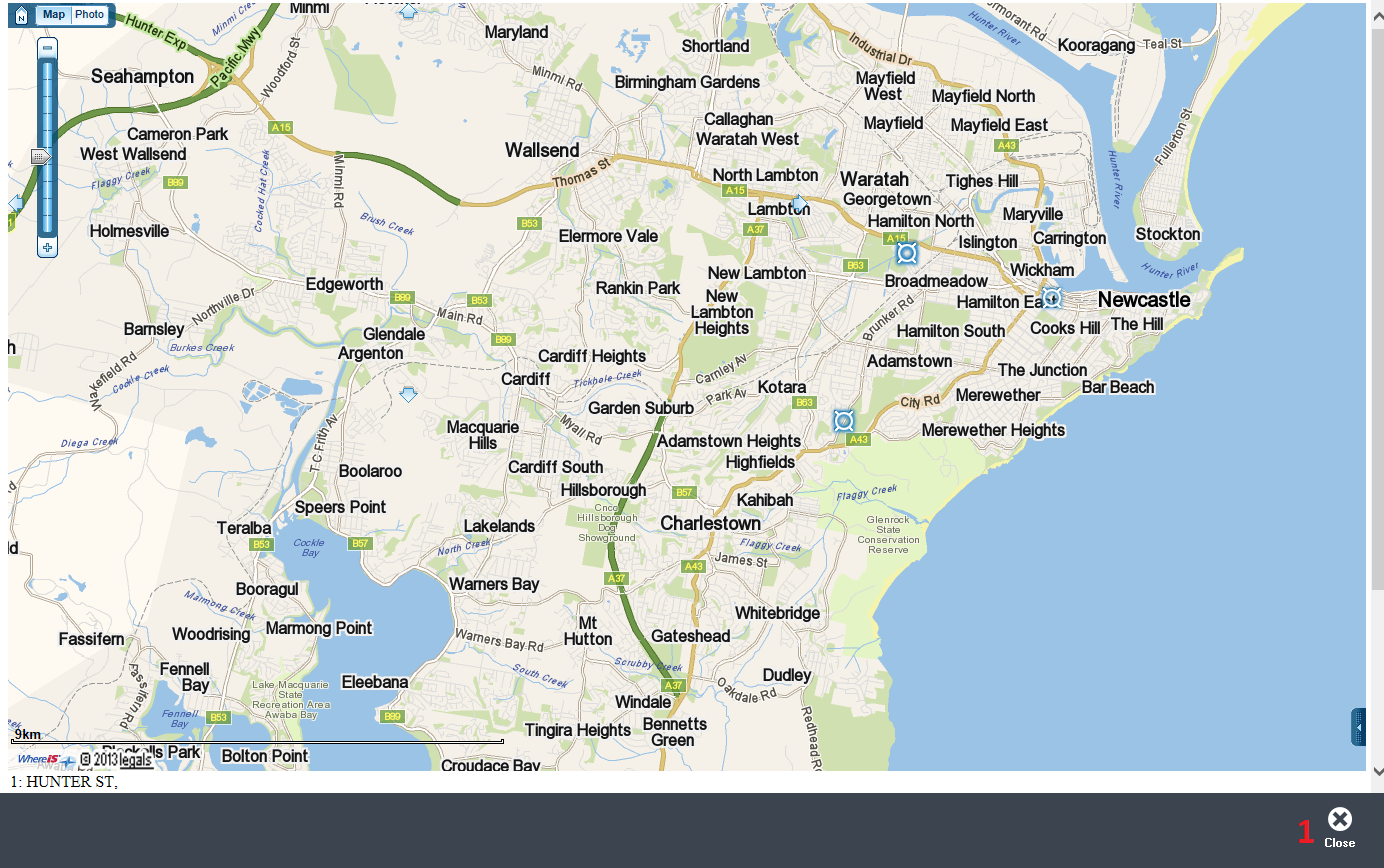
This shows you the route of the selected Journey. Each destination is represented by the blue circle. Use the + and – button to zoom in and out. Press the Close button in the bottom right to return to the previous screen.