
How to create a new participant or client
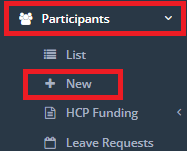
To add a new participant/client, click once on Participants from the main menu, then on New. If viewing the participant list, you can also get to this option by clicking the New button at the right of the column headings.
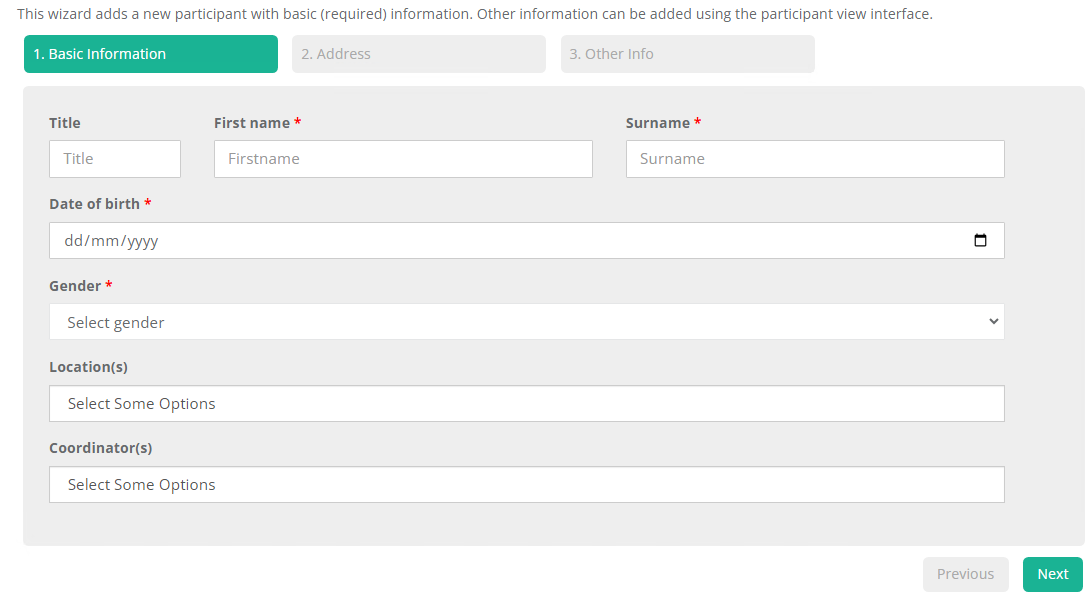
1. Basic Information
Fill in the participant’s Title, First/Last name, DOB and Gender.
Gender has a few options available. You can select from:
- Man or male
- Woman or female
- Not stated
- Non-binary
- [I/They] use a different term
If your organisation has locations set up in Data, you can select their location here.
Here is also where you can assign a coordinator if desired.
2. Address
As you enter this step, you may get a popup in the top left of your browser that looks like this:
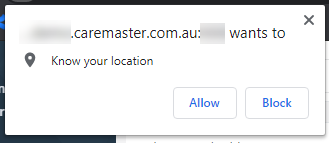
Make sure that you click Allow*.* This makes any address entry below much easier as you'll soon see.
As you start to type in the client's address, you'll see CareMaster attempting to assist with auto completion. If you've allowed Chrome to see your location, the results will be tailored to ones that are closer by instead of anywhere in the world. If you select an address from the drop down list, a map will pop up with your address;
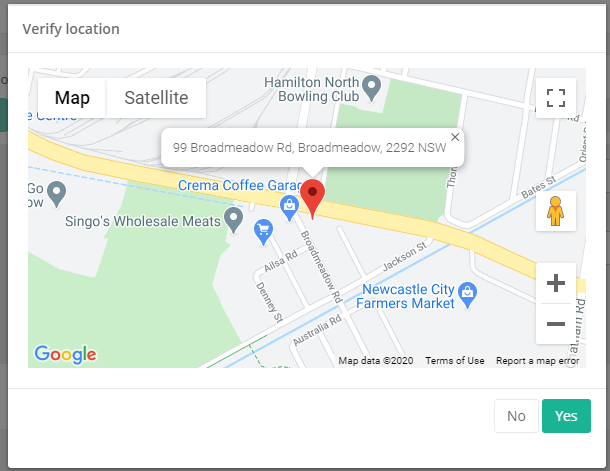
Clicking Yes will Verify the address for you.
Verifying addresses isn't necessary, but there is functionality in CareMaster where you can select workers for supports depending on their distance to the client.
Once you have filled in the required information click Next.
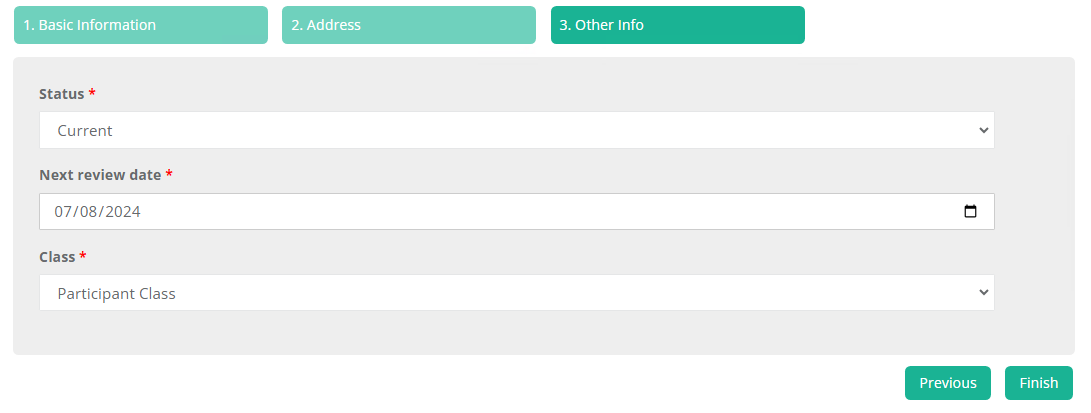
3. Other Info
The Participant status to determine how CareMaster should treat this client record. - Current**:** A current client/participant of your organisation, the most common type. - Waiting: A client/participant that is on a wait-list to join or for some other reason has not been accepted into the organisation yet. - Exited**:** A client/participant that is no longer with your organisation. Use this status to keep records of past clients without having to delete them ( You cannot delete a participant). - Non-Accp: A client/participant that is/was not accepted.
The Review Date tells CareMaster when this client's record requires a review by. CareMaster provides alerts when a client's review date is getting close.
You can also assign a Participant Class if you wish.
Once all of the required information is filled out, click the green Finish button to create the participant record.
A success message will appear if you have entered all of the required information. After clicking Finish, you can view the new profile or create another participant.