
How to Create Worker Timesheets
There a multiple ways in the system that worker timesheets can be generated.
1. Automatically via the worker app → workers start and end each support on the app and it generates a corresponding timesheet in the system based on when they tapped Start and End.
2. Automatically via Generate Timesheets button → CareMaster has a Generate Timesheets button that can be used for those not using our worker app or those who forgot to use the app for a support. When clicked, it will generate a timesheet for all checked supports in the date range selected that do not have one linked already.
3. Entered in Manually → this is done via the worker profile. See below for instructions.
Generate Timesheets Button
You will find the Generate Timesheets button on the Support list page, next to the Export to Excel button.

Make sure to filter to the date range and any other filters to only show supports you want to create timesheets for. Once clicked, it will generate a timesheet for any Checked support in the filter that does not already have a linked timesheet.
Enter Timesheet in Manually
Worker Timesheet's can be found on a Staff/Volunteers profile and can be filled in by the worker, an admin or a coordinator.
Worker Timesheet's are formatted for 24 hour time and the latest time that can be entered is 23:59.
Timesheet entries are designed to be entered in increments for example: 9:00 - 12:00 - Clock On/Off, 12:00 - 12:30 - Lunch, 12:30 - 17:00 - Clock On/Off. If an entry is made that is not in increments such as: 9:00 - 1700 - Clock on/Off; no further entries can be added between those times.
The fill-in fields and information that needs to be entered into worker timesheet's may vary depending on the settings that have been enabled/disabled. Settings also influence who can enter, edit and delete Timesheet entries.
-
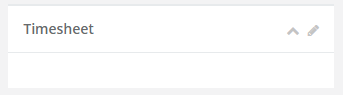
Enter a staff/volunteer profile and locate the Timesheet Panel (Bottom right):
-
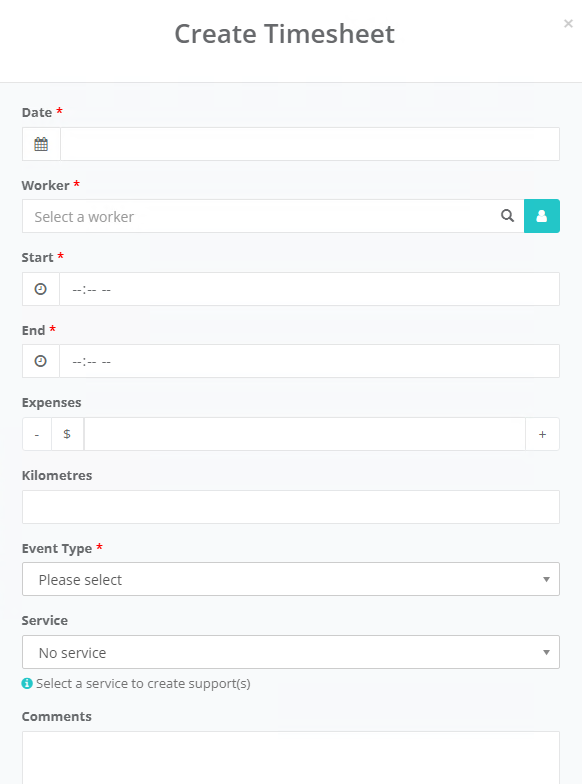
Which will open the Worker Timesheet up so that users are able to make an entry
-
Once this screen is open you can change the day in the top left corner to display or enter timesheets for that day
-
Enter in the required information into Timesheet entry. Timesheets are entered with either the Start and End times (in 24 hour format) or the Duration, not both.
-
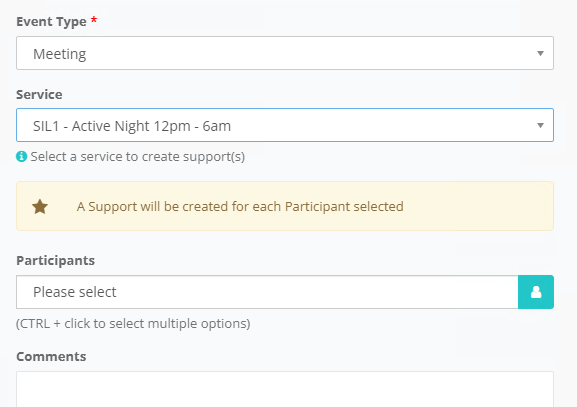
Event Type: While there are several types that are automatically included with your CareMaster install, these can be added/edited from navigating to Data → Support Worker Data → Timesheet Data from the main menu.
The configuration of the event type determines if a participant/service needs to be entered here.
If a Participant and Service is entered here, this will automatically create a support linked to the timesheet.
-
Add in the Participant by typing in their name, then clicking on the + button to the right of that field. You can use the top field to search for all participants, or the one underneath to only see the participants that worker has assigned to them.
-
Once all the required and desired information has been entered in the entry, you can click the green save button at the end of the form. Once the entry is saved, it will appear under the heading Today's Entries. If you haven't added a Participant/Service because you don't want to create a support but get an error message about requiring one, you may need to change the configuration at Data → Support Worker Data → Timesheet Data of the event you are using.
Can I delete a worker timesheet? Yes, you can delete a worker timesheet. This can be actioned under Staff/Volunteers > Timesheets. Locate the timesheet using the filters. Select the red bin icon on the left hand side. Please note when you delete a timesheet the attached support will also be deleted along with case notes for that support.