
User Guide: Xero Pre Invoicing Setup Guide
Document Overview
Prior to commencing invoicing, please ensure that the following has been setup in CareMaster.
- Contacts
- Products and Services
- Tracking Categories
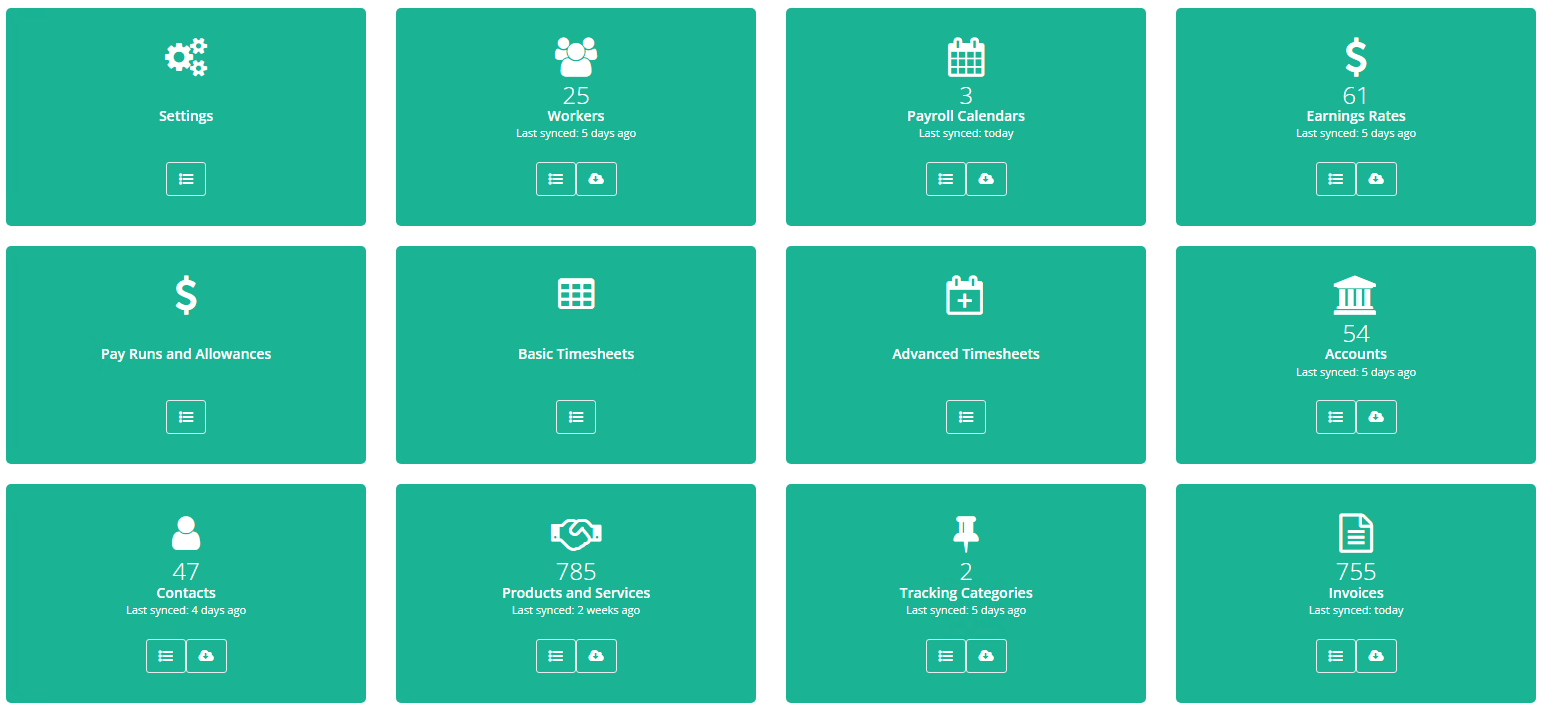
The Dashboard is the central area relating to all actions for Xero. It is an easy reference point where you can navigate to all relevant areas to manage Payroll and Invoicing.
Go to Admin → Integrations → Xero → Dashboard.
Step 1: Contacts
CareMaster allows you to link a Participant to a Xero Contact for Invoicing purposes.
This can be created for:
- A Plan Manager
- A Nominee or Parent
- The Participant directly
It is recommended you create your Contacts in Xero first however CareMaster can create them for you in Xero.
Go to Admin → Integrations → Xero → Dashboard → Contacts → 
You can also access this page via Admin → Integrations → Xero → Contacts
On the Contacts page, start by pressing  This will sync all Xero Contacts to CareMaster. This will give you a confirmation message;
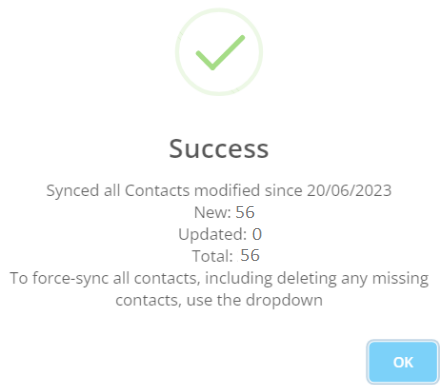
Once you have imported all the available Xero Contacts, it will appear as per below.

 This is a link to the Contact in the Xero system.
 This shows that a CareMaster Participant is not yet linked.
 Edit your Xero Contact details.
 Select this to start linking your CareMaster Participants to your Xero Contacts
 This means your participant is already linked – click to edit or delete this link.
To start Linking your Participants to the Xero Contacts, press the Participants Link button 
You can search for existing links by entering the Participant name, or to create a new link, press 
You have the option here to link this Participant to all Service Organisations or just a single Service Organisation. This can be useful if your Participant is receiving different funding from different areas i.e. NDIA Managed and Plan Managed.
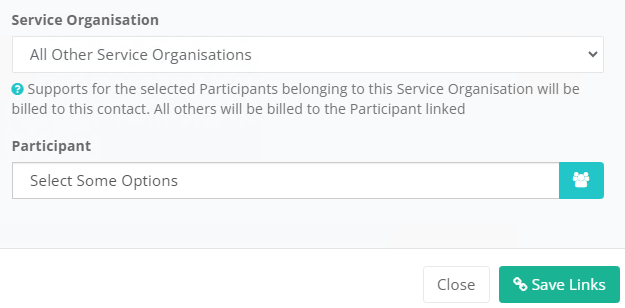
Select the relevant Service Organisation and then Type their name in the Participants field to find them or Browse
Once you have found them, 
Continue to complete this Activity for All CareMaster Participants
*If needed, you can create a Xero Contact in CareMaster and sync to Xero by pressing

Once the contact is setup, any supports that have been marked as checked and are invoiceable can be sent to the specific Participant or Contact.
If you need to Edit a linking or Unlink a Participant, press on the green link button  and then Delete the link. This will then enable the Participant to be re linked as needed.

Step 2: Products and Services
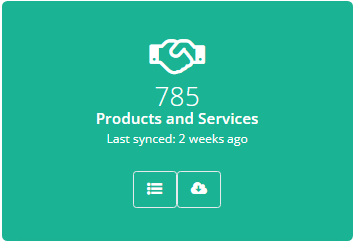
This area lets you sync your Products and Services from CareMaster and view which ones you have linked to a CareMaster Service Item.
Go to Admin → Integrations → Xero → Dashboard → Products and Services → 
 The link in this column will open the Item in Xero
Name: The name of the item on Xero
Type:
 An item you purchase from a supplier
 An item you sell or provide to a customer
 : If the Item is linked to one or more CareMaster Services, this column will show the count, or a icon
To Link these together, press 
 Shows the Services that are not linked
 Shows the Services that are linked
You will have 3 options here:
- Generate all items into Xero
- Generate the item in Xero individually
- Link them to existing Xero items
To Generate all CareMaster items into Xero, press the  button, or use the dropdown arrow to generate all of them – this may take a few moments.
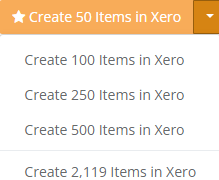
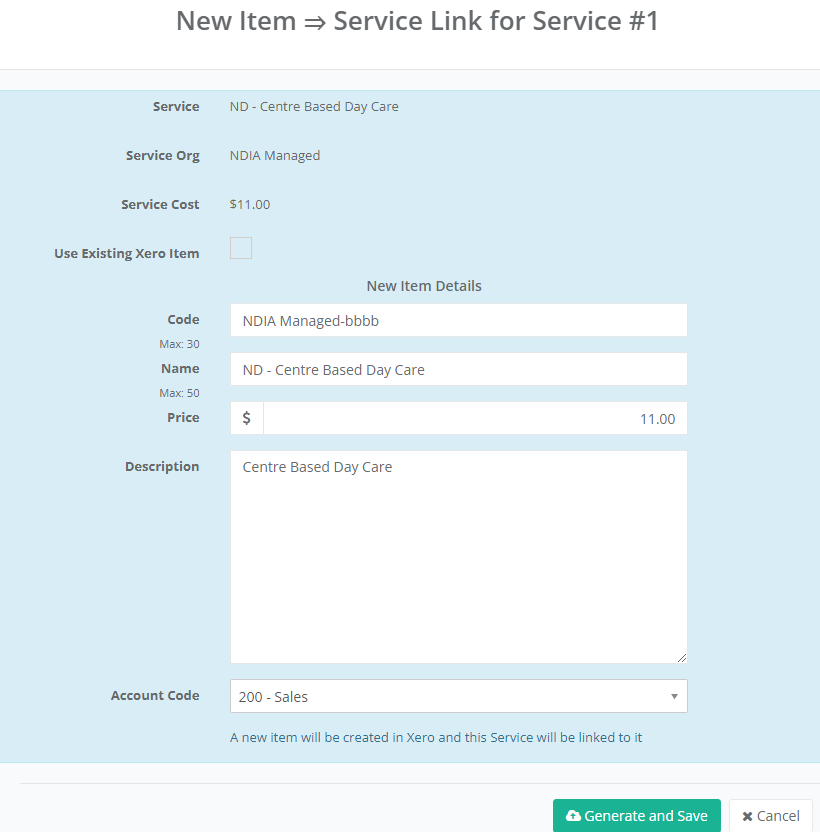
If you want to generate them individually click on the  and then untick Use Existing Xero Item and populate the Code / Name / Price and Description below then Generate and Save.
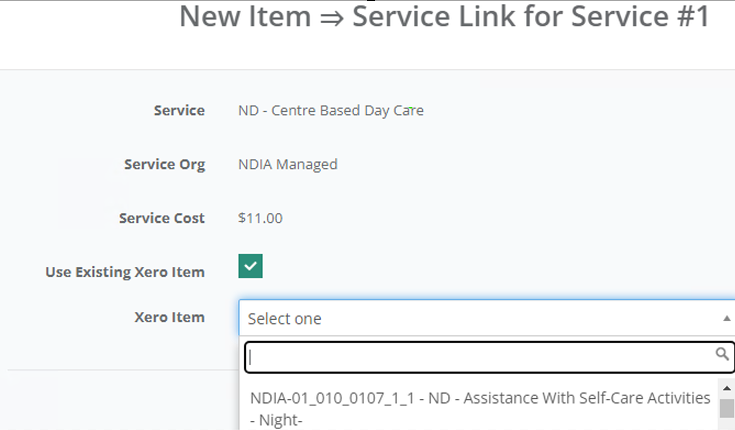
To Link it to an existing Service, Tick Use Existing Xero Item and select it from within the dropdown.
Step 3: Tracking Categories
Go to Admin → Integrations → Xero → Dashboard → Tracking Categories → 
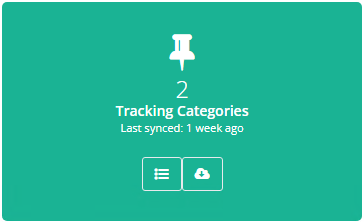
Tracking is used for organisations that want to do different cost centers for different regions or different service types.
The list shows you all the Tracking Categories and their Options that you have synced from Xero. By default, the list only shows the active entries.
- Name: the name of the category as shown in Xero
- Options: an expandable list showing the options you've created for this category in Xero
- Status:
- Active. Only two categories can be active in Xero
- Archived
- Deleted
This function lets you specify tracking options for Timesheets and Invoice Line Items. To get started click 
Select the Service Organisation to add Tracking to and press Edit to make a connection 
Your Tracking Categories are created in Xero.
To import these into CareMaster, go to Admin → Integrations → Xero → Dashboard → Settings → 
Refresh from Xero to make these available for selection.
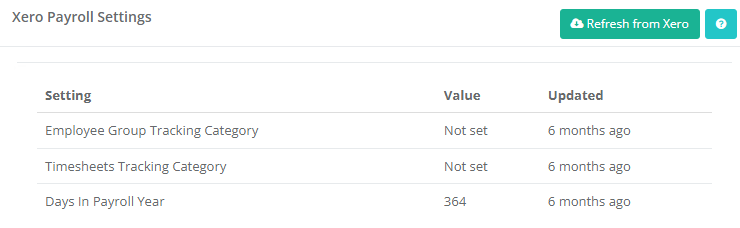
Once the connection is made, these will be available for selection.
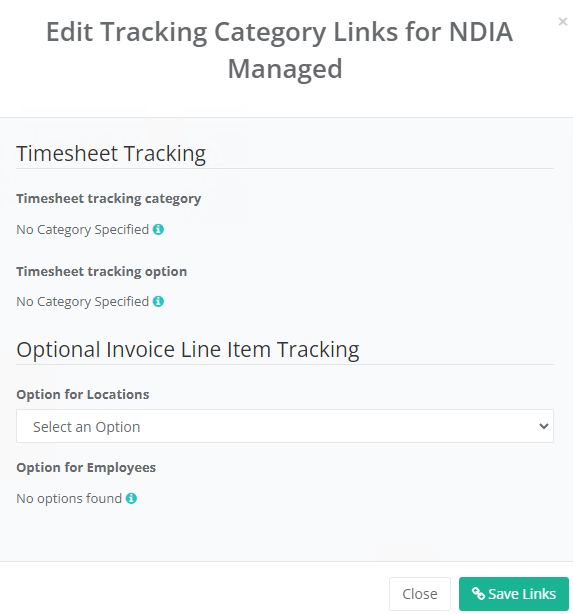
This will mark the income for that Tracking category and then also the expenditure for the timesheets for your Xero reporting.