Linking Reckon to CareMaster
This guide will assist you in linking your Reckon product to CareMaster by a importing files from Reckon and taking specific actions to make the required connections.
Import Accounts
You need to get an export file for upload of the Reckon Account items and load them into CareMaster.
To get this file in Reckon, select Reports, List and Account Listing.
You can modify this report and select your columns. Please make sure you include Account, Type, Description and active Status. Once you have exported this file it looks like this.
The now need to be renamed to; name, accttype, desc and hidden. Please make sure to match the lowercase and upper case inputs as shown here. Please also add an extra column called accnt and add the input of ACCNT in each cell and save.
Now go to CareMaster and Admin → Integrations → Reckon → Accounts and using the Import From List function. 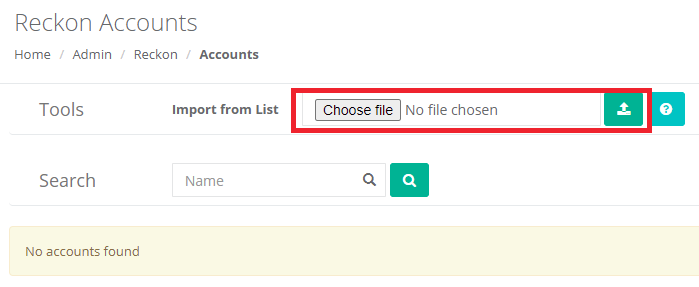
Assigning Chart of Accounts
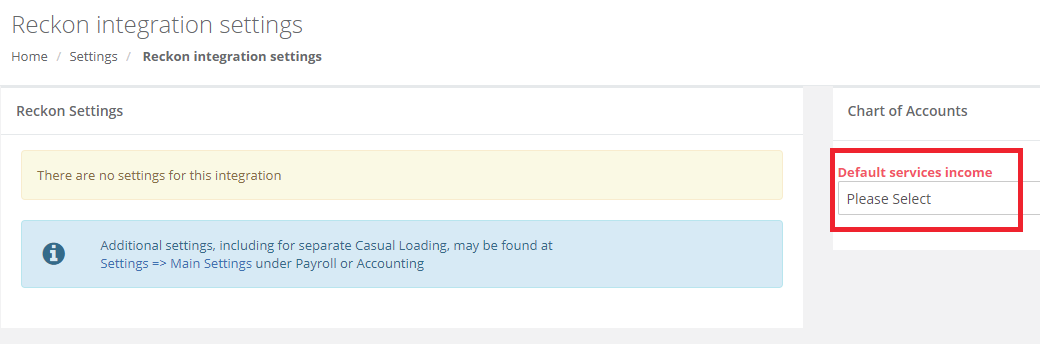
Once you have imported these accounts, you will need to go to Admin → Integrations → Reckon → Settings and assign the default services income account.
Importing Payroll Items
You need to get an export file for upload of the Reckon Pay items and load them into CareMaster.
To get this file in Reckon, select Reports, List and Payroll Item Listing. Once downloaded, remove the 1st blank column from the export.
In CareMaster, go to the Reckon Dashboard and select Payroll Items. Find the saved file and upload.
These will now appear in CareMaster as available Payroll items.
Configure Payroll Item & Allowance Assignment Settings
Once your Payroll Items have been imported, you need to assign them in your Reckon Payroll Item Assignment Settings.
Go to Admin → Integrations → Reckon → Settings and scroll down to Reckon Payroll Item Assignment Settings.
Match each of the Payroll items to their Payroll Item Assignments. You can apply different items against Full Time, Part Time and Casual or just leave them all as default, and Save Assignments.
Do the same for the Payroll Item Allowance Assignments and Save.
**if you need help understanding the different rates, select the ? button and expand what rates should I use? This is also available for the Payroll Items Allowances.
Importing Tracking Classes
You need to get an export file for upload of the Reckon Tracking Classes and load them into CareMaster. To get this file in Reckon, select Reports, Company and Financial and Profit and loss by Class.</voice>
Once downloaded, remove all other fields except the classes then remove the top line as no header required and save.
In CareMaster, go to the Reckon Dashboard and select Tracking Classes.
Find the saved file and upload. These will now appear in CareMaster as available Tracking Classes.
Configure Tracking Classes
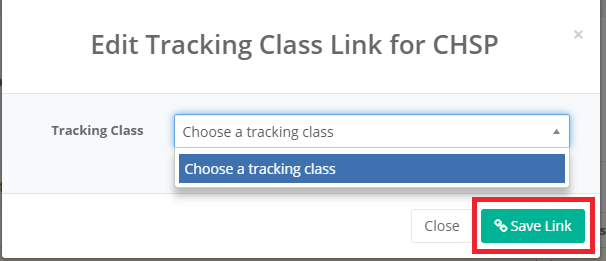
If you would like to use tracking classes, you will need to make sure that you have imported these and linked them by going to Admin → Integrations → Reckon → Tracking Classes. An export from Reckon and the Import From List functionality will import them, then you will need to use the Service Org Links button to assign the tracking classes to appropriate service organisations.
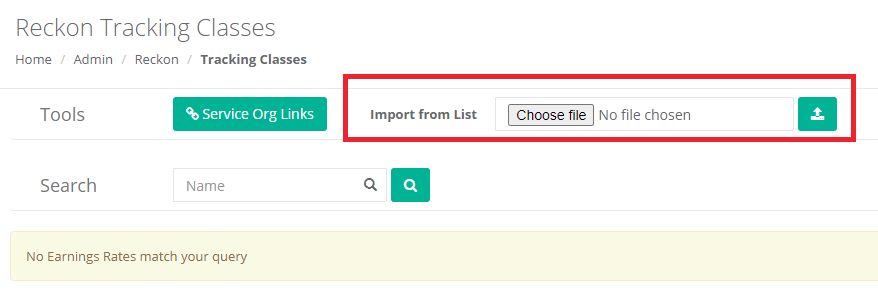
On each Service Organisation, edit it to apply the matching Tracking Class in Reckon, and Save Link.
Invoice Template Settings
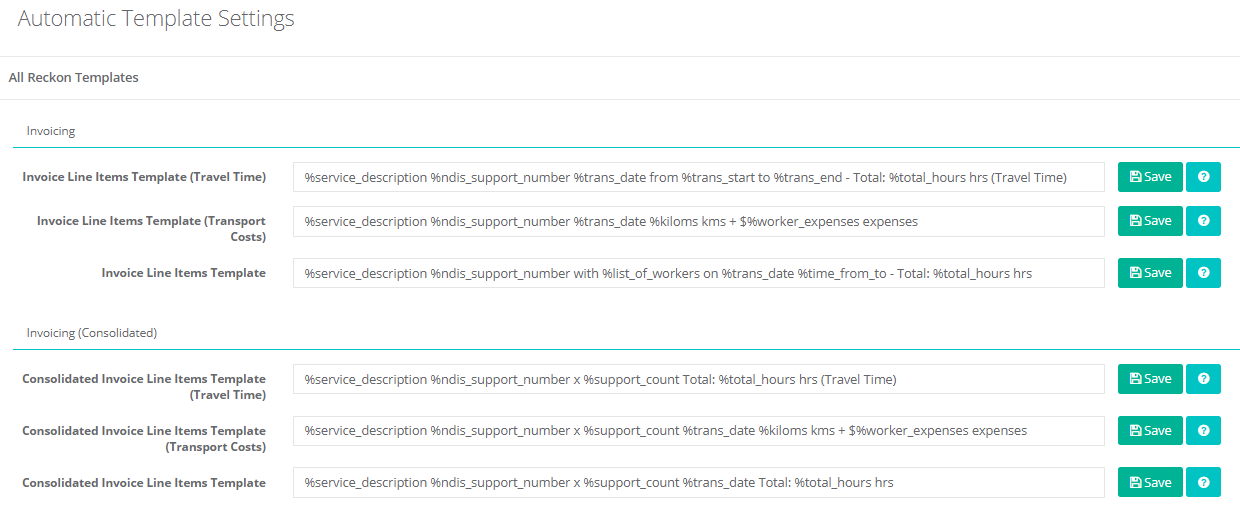
Go to Admin → Integrations → Reckon → Settings. The Setting section will also allow you to adjust the line item templates. Make any required changes and save here. Each % sign is a variable field you can add or remove. Click on the ? symbol on the right to see the available fields for each invoice template line.