
Locations & Destinations
Locations are key to grouping and sorting your Workers and your Participants for allocating supports.
The Roster Optimiser uses a Participant Location to group and show all the pre optimised allocated and Unassigned supports. It then reviews the available workers based on their assigned Location to Optimise and fill the available supports.
Destinations are verified addresses used in Transport supports. The Roster Optimiser requires these address’s to be verified so it can calculate the best worker allocation based on real start and end destination data.
Here is a brief demonstration of the creating a Location and a Destination.
Roster Optimiser - Locations & Destinations 691x389
Locations
To create a new Location, go to Data > Location Data > Region/Location
It will display all the current locations and show you how many Clients and Workers are attached to this location.
Select the eye icon👁️🗨️to view which Clients and Workers are associated with each location.
Press Edit to update the Location Name, Description, Region or State.
Delete if no longer required. *NB you cannot delete a Location if a Participant / Worker is attached.
To create a New Location, Press *New
Enter the Location Name, Description, Region and State and Save.
This can now be added to your Participant and Worker Profiles.
Destinations
Destinations are used when Transport is included in a support. Destinations allow you to set a specific address for Pick up and Drop off but must be created in the system first before being able to add to a new support.
Destination Categories
Destination categories can help define the Destinations. You need to build your Destination Categories first before building a Destination. The destinations categories can include:
- Support
- Health and Fitness
- Education
- Shopping
- Entertainment
Go to Data > Location Data > Destination Categories
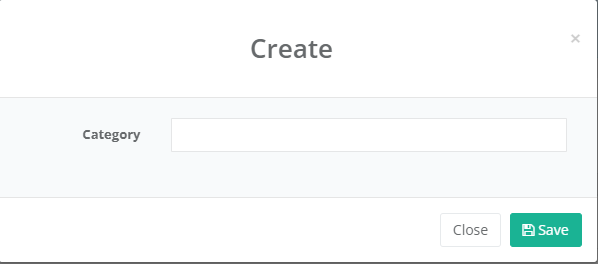
Click on the New button to enter a new destination category.
To edit an existing entry, click on the pencil icon next the categories name.

Enter/Update the category details and press the Save button
Destinations
Go to Data > Location Data > Destinations
Select + Add Destination
- Input the Name
- Select a Category
- Add an address and Verify - It will populate the Suburb, State & Postcode
- Add Notes to describe the address
Verify the Address and Save
Your new destination can now be selected when creating a support.