
Reckon Invoice Process
CareMaster provides an export file that can be uploaded into Reckon for Invoicing.
*MYOB Online has inhouse invoicing and does not accept Invoice file uploads.
Required Setup Steps:
All clients need to be set up in Reckon as Individual with their first name and last name identical to what is in CareMaster. Reckon matches on their first and last name so if these do not match, it will not import them.
Step 1: “Checked” Supports
In CareMaster, the term 'Checked' signifies that the support has been provided and is now ready for the payroll process and invoicing (if required).
When a worker starts and stops their designated support using the CareMaster Worker App. With a buffer of 15 minutes on either side of the scheduled rostered time. The support will automatically receive the 'Checked' status and trigger the creation of the worker's timesheet for that support.
Please note the duration of this setting can be adjusted in the CareMaster, menu: Settings> Worker app settings> Auto Checked Limit (Minutes)
A support that is not marked as 'Checked' will not result in the generation of a timesheet or an invoice. The 'Not checked' status occurs when the support has not been correctly started and stopped by the worker in the Worker app.
To ensure that the worker's supports have been 'Checked' and that any missing timesheets have been generated for relevant Date Range, navigate to menu: Supports> All .
In the Supports display, utilise the filters to view the Worker’s supports within the relevant Calendar Period.
To get started:
Select the Within date range option.
Choose the relevant date range period.
In the "Any Checked Status" field, pick "Not Checked."
Add the Workers name to the Support Worker Field
Choose the "Any Status" option in the "Not Cancelled" field. This will display all the workers supports including cancelled ones, in the event a timesheet is required.
Press the Search button to display the Worker’s supports.
The search results will show the ‘Not Checked’ supports of the Worker.
To create Timesheets for these supports, mark the necessary ones as ‘Checked’ and then click the yellow Generate Missing Timesheet button.
There is also an option to bulk Check your supports using the Manage button process.
Step 2: Generating the Invoice Export
To begin go to Admin → Integrations → Reckon → Invoices.
The main page will display a list of invoice files that were previously generated with the ability to download the file again. You can search these existing records via date and Contact Name.
To generate new invoices, click on the Generate Invoices button.
A list of all supports available for invoicing are displayed.
You can use the Search filters to filter the invoices by date, client name and/or service organisation.
Once you have the list of supports you wish to invoice, you can place a tick in the include column and click on Export Selected.
If you would like to review or manually adjust an invoice, click on the Manual button.
Here you can change the invoice date, the line item description, the account and/or category. You can also untick a line on the right hand column and it will not invoice that support.
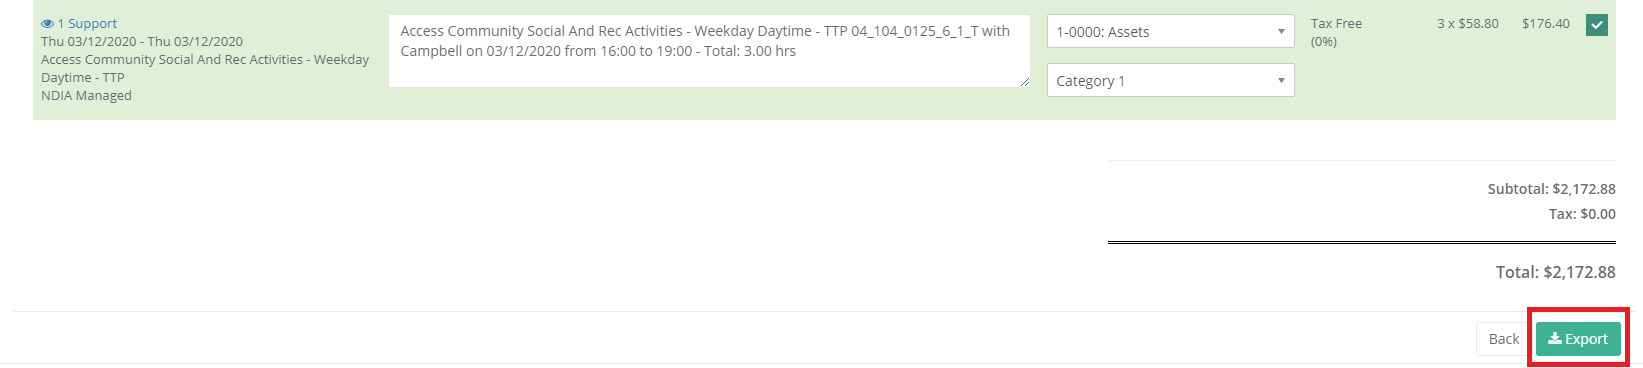
If you manually edit the invoice, you will need to click on Export at the top of the page or the bottom. Any manual changes you make to the invoice will not update the corresponding supports in the system, it will only change the invoice. Once you navigate from the page, any un-exported changes to the invoice will not be saved.
You can also Export from within a generate invoice view.
These exports will now appear in the main Reckon Invoices page for download.