
User Guide: Worker App Guide for Workers
Document Overview
When your profile is created in CareMaster, it will send you an email of your Worker App login details.
Here is a video outlining these steps.
Step 1: Downloading the Worker App
1.
On your mobile device go to the App Store (iPhone) or Google Play Store (Android).
2.
iPhone/iPad Users
- Open the App Store
- On the app navigation bar, tap Search.
- In the search field type CareMaster Worker
- Press the search button.
- Tap on the Get button next to the CareMaster Worker App to download the app.
Android Users
- Open the Google Play Store
- In the search field at the top of your screen enter – CareMaster Worker
- Press the search button.
- Tap on the CareMaster Worker App.
- Press the Install button.
Step 2: Logging in / Forgot Password
1.
You will receive an Activation email and your first step is to reset your password.
Please note, the Activate Account link only works for 60 minutes and after that time, you will need to press Forgot Password in the app to reset.
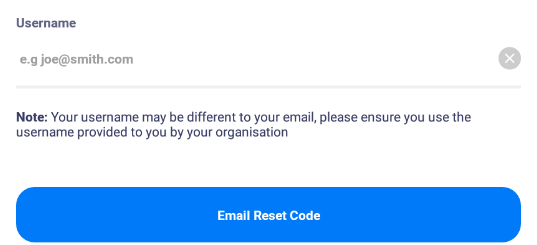
If the link has expired, press Forgot Password on the App, and it will prompt you for your Username and email you a reset code:
2.
Once you open the App, you can now enter your Email (Username) and Password.
You will be provided your Organisation PIN by your admin. If you are unsure of your Organisational Pin please contact your Team Leader or Manager.
Click Change your organisation PIN code to enter it.
Step 3: The Home Page
1.
Once you have logged in, it shows you a summary of your roster.
A Yellow icon/dot shows you have availability entered
A Green icon/dot shows you have a support allocated
The Menu bar at the bottom shows you:
- Home – brings you to the home summary page
- Participants – lists which participants you are assigned to
- Messages – allows you to Chat with other workers about a specific participant
- Incidents – where you can log an Incident
- More – Additional actions available to you
Step 4: Starting a Support & Support Information
1.
From the Home Page, select the date you want to view. It will default to today’s date.
Select a support to open it.
2. Note that starting a support creates your timesheet.

3.
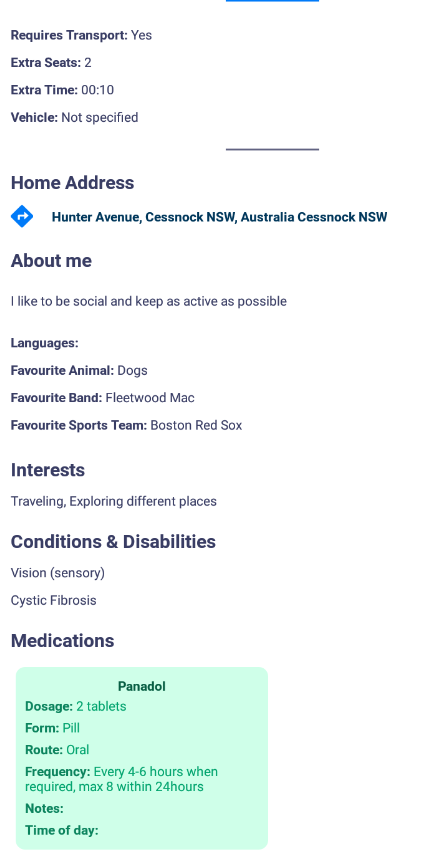
The Details tab shows you Participant profile information.
You can see this if you are assigned to a Participant directly
The Goals tab shows you any active Goals for your participant.
Press Show more for the full goal description.
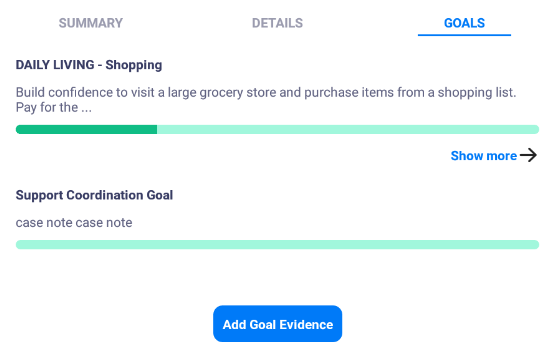
Press Add Goal Evidence and the add a Case Note screen appears with the Link to Goal already populated. More on this in the Adding a Case Note section.

Step 5: Ending a Support
5.
Once you have completed your support, press and hold End to end the support until the outline completed spinning.
It may prompt you to add additional information such as:
- Case Note –a Case note must be added before a support can be ended
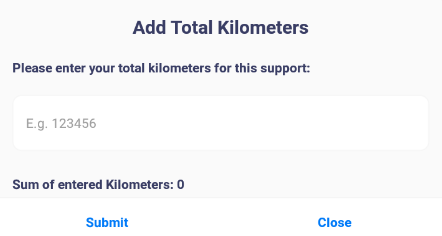
- Add Total Kilometers –If no transport was used, add 0 and submit.
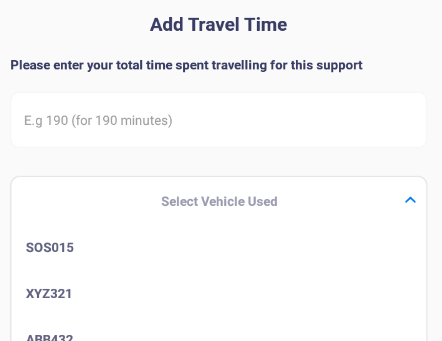
- Add Travel Time – Add any time outside of the normal support to apply as a customer charge. Select the Company vehicle or Own vehicle to have additional time paid.
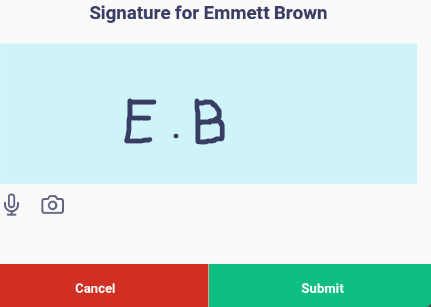
- Add a Signature – Get the Participant to sign here, add a voice recording or upload a picture to capture the participant signature.
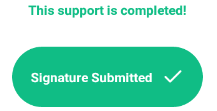
It will then confirm the Support is complete.
Step 6: Adding a Case Note / Travel Expenses
1.
You can add a Case Note directly against your rostered Support and also via the bottom menu Participants, when you select a specific participant.
Within your Support, or on the Participant’s profile in Notes, press 
Select your Note Category and write in your notes in the blue section.
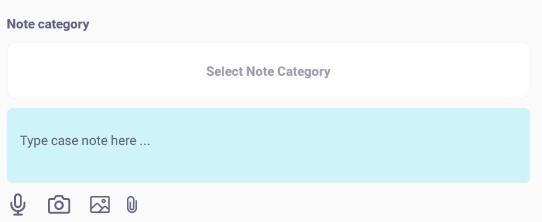
You can add supporting files as well.
Select High Priority when needed.

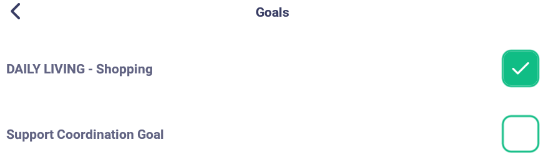
Select Link to a Goals assign this note to a specific Goal.

If linking to a Goal, you will need to select which goal to add this evidence to.

Once you have added all the relevant information, you can  .
.
You can  and it will allow you to come back and complete it later.
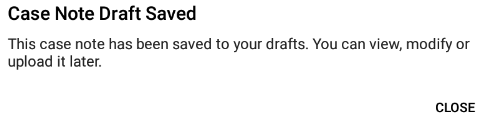
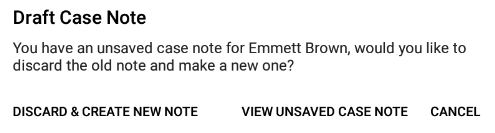
Next time, when you press Add Note again it will ask:
2.
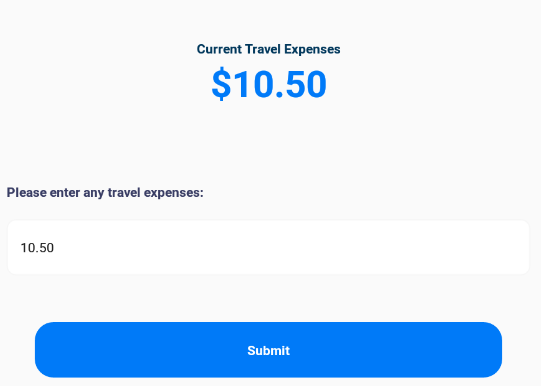
Travel Expenses
This is used for expenses like parking fees, toll charges, petrol etc.…
From within a support add a Travel Expense by pressing  .
.
Add the value and Submit
Step 7: Participant Tab
The Participant tab will show you all the Participants you are assigned to and their detailed profile information.
When you select one, it will show their contact details, additional contacts and the Alerts from their profile.
There are additional Tabs to show more information.

The Summary page shows all the information like the Home Page of a Support with:
- Home Address
- About Me
- Interests
- Conditions and Disabilities
- Medications
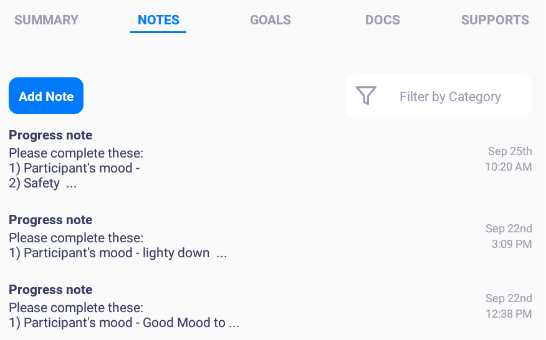
The Notes tab is where you can add a note specifically onto the Participant profile and view other worker notes
The Goals tab provides information about the participants’ active goals.
To add goal evidence, add a note in the notes section or within an active support.
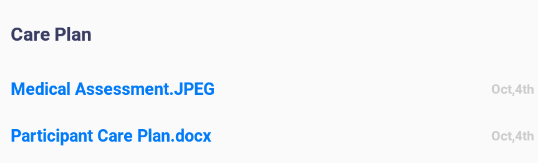
The Docs tab shows you specific documents for this participant.
You will need to have a file viewer installed on your device to read these.
The Supports tab shows you a list of the upcoming supports for this participant for the next 7 days.
There is a setting to show All supports or only the supports of the logged in worker.
Step 8: Messages Tab
This section allows assigned workers to message one another based on them being assigned to the same Participant.
Select the participant you want to message that worker group for and start typing.
*Admin and Coordinator’s are also able to see and contribute to this chat via the web portal.
Step 9: Incidents Tab
This is where you can add Incidents for a Property or a Participant

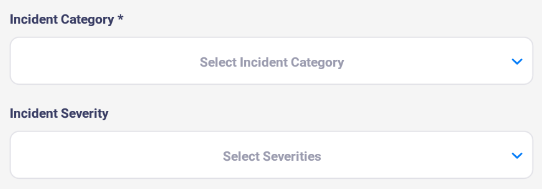
Select your Incident Category and Incident Severity.
If you have selected a Property Incident, choose your Property.

Now choose the Participant and Staff involved.
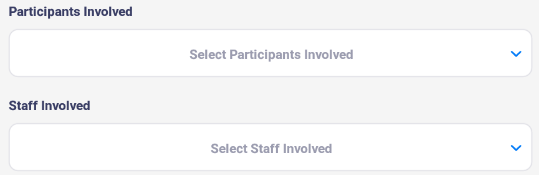
Select any Vehicle if required.

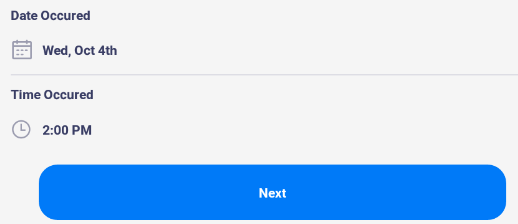
The Date and Time will default to Today and Now – you can change these by clicking on them.
Then press Next to enter in more Incident information.
Here you can write information about:
- The description of the Incident – Write more about what happened.
- People Involved/Witnessed – Who was involved?
- Action Taken – What Actions did you take?
- Upload supporting data -

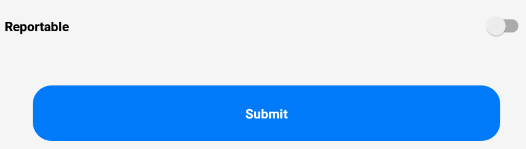
You can make the Incident Reportable as an extra status and Submit.
Step 10: More Tab
 My Profile
This displays the users own personal information based on their Worker Profile.
The user has the ability to edit and update:
- A Profile Pic
- Name
- Email and Mobile
- Address
- Emergency Contact information
- Languages
- Interests
 My Documents
This section allows the app user to upload their own document into pre created categories.
This can be used for document such as:
- First Aid Certificates
- Licence Pictures
- Registration and Insurance papers
- Complaince Training Certificates
- Doctor Certificates
 **My Availability
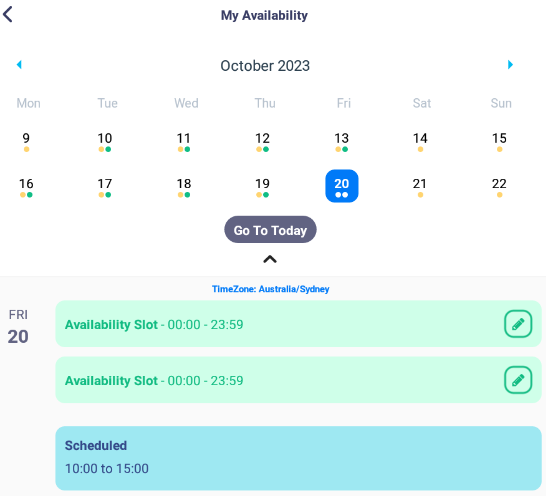
Here you can enter your Availability and submit it to your Coordinator for approval.
You will not be able to change your availability on any days you are already rostered and will need to contact your Admin team.
A Yellow dot shows you have Availability entered.
A Green dot shows you have a support allocated.
When you select a specific date, it will show your entered availability and any scheduled supports.
 My Leave Requests
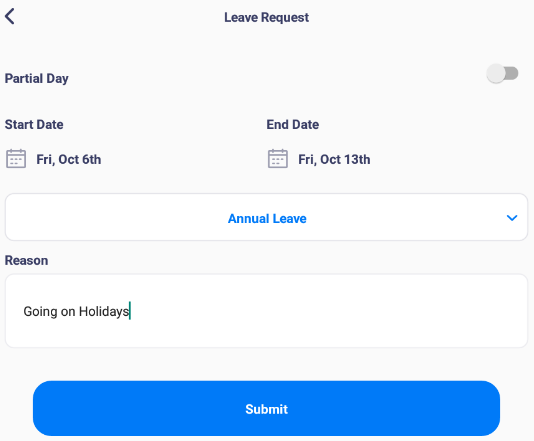
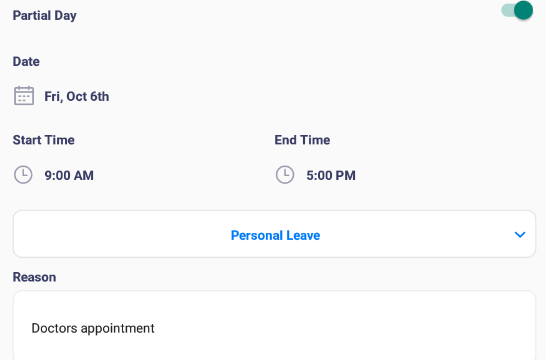
This is where you can submit a Leave request to your Coordinator for review.
You can submit a full day or part day request.
Full day
Part Day
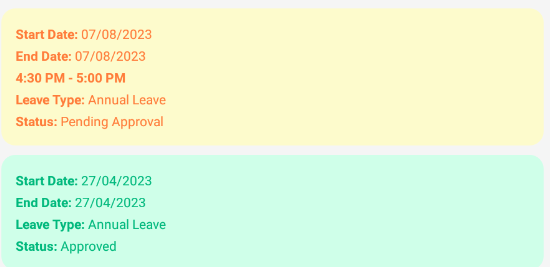
It will show Yellow for a Pending Approval and Green for Approved.
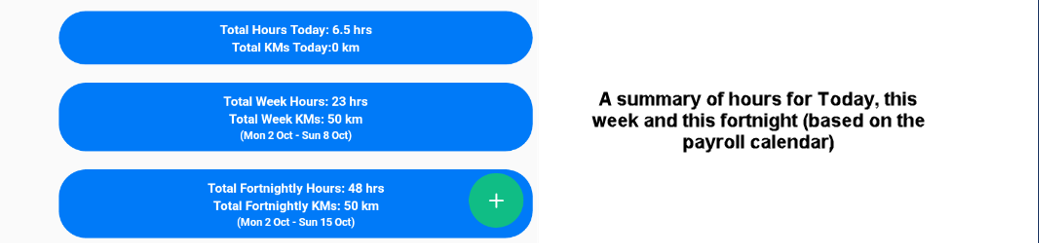
 My Summary

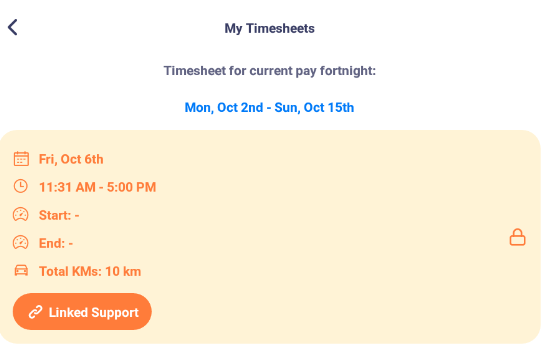
 My Timesheets
This section will show your logged Timesheets for the current payroll period.
It links to a support if you need to add any further information.
 News
News
Your admin team can send News to your workers app. They are able to see who has read the document.
A notification will appear in the worker’s app, once they enter the news section, it will display all the available articles.
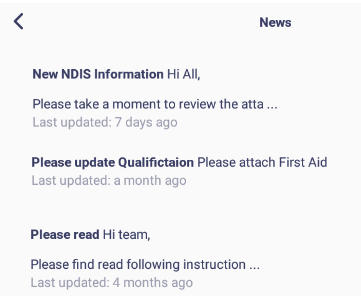
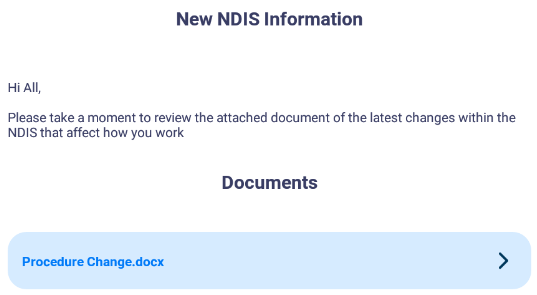
Only when you open an individual article will it register as being Read and the list can be viewed in the Web portal News section.
 Advertised Supports
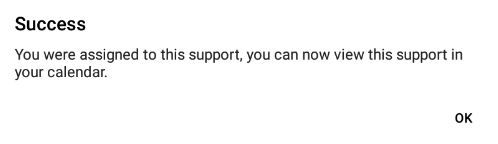
Your admin team can Advertise supports to you that you can accept.

When you accept it, it will send a notification to the other workers letting them know the shift has been filled.
**  **Staff Documents
This section allows you to download documents from your admin team.
Examples of this are:
- Company Policies
- Procedures and processes
- Leave Forms
- Feedback or Incident forms
**  **Report Error’s and Bugs
This section allows app users to submit a Bug or Error to the Customer Care Team.
This will also include information about the users device for troubleshooting.
**  **About
This contains technical app information and will allow users to:
- Clear any active location points in queue – (Clear location data)
- Display any unfinished or Active supports
- Reset local refreshable caches – (Clear App data)
**  **Logout
Advise all users to Logout after each use as this will maxamise your available app licences for other users. The app will automatically log users out after 60 minutes of inactivity.
How to clear location points on the worker app
On the worker app a message regarding location points may be received
To clear this message and the location points log on to the worker app, select More from the bottom menu then About
Select Clear location point in queue
Select Yes to clear the location points
Then log out from the worker app and force close the worker app.
Please ensure you have given the worker app permissions for location and then log back in.