Voucher User Guide
| NOTE: By default the Voucher section is turned off as it only applies to a few organisations. |
|---|
The Vouchers section allows you to create, assign and return participant vouchers.
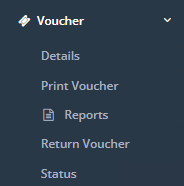
Using the tabs along the screen or the main menu to the left, you can navigate to other voucher settings.
\
Voucher Details
Create, edit and view voucher details here. Filter what vouchers are currently available using any combination of the outlined options. To print an existing voucher, click on the printer icon next to the voucher to open it, click Print on the right of the window.
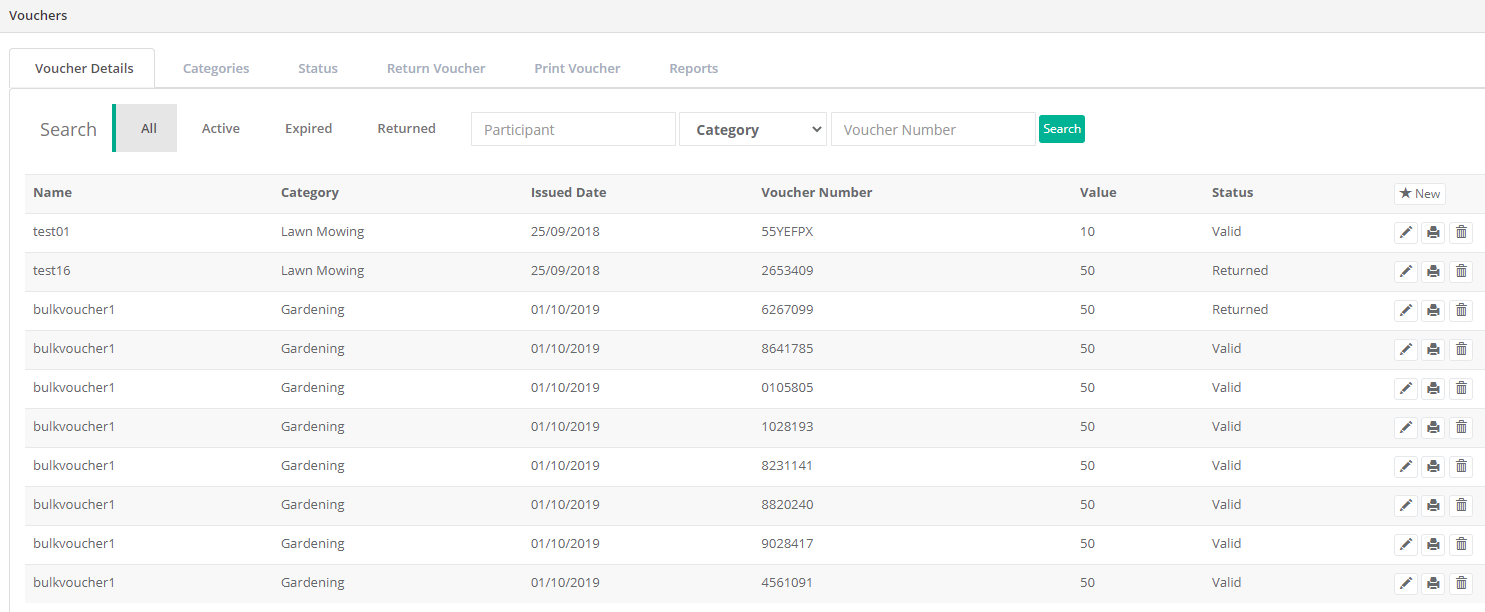
To edit a voucher, click on the pencil button to the right of the voucher you wish to edit. A page with the details of that voucher will pop up, make sure to hit Submit at the bottom of the window to save any changes made.
When editing/creating a voucher, it must have a Category and Status. These can be created and edited using the voucher settings as explained below, which are accessed using the tabs along the top of the main Voucher Details window.
\
Categories
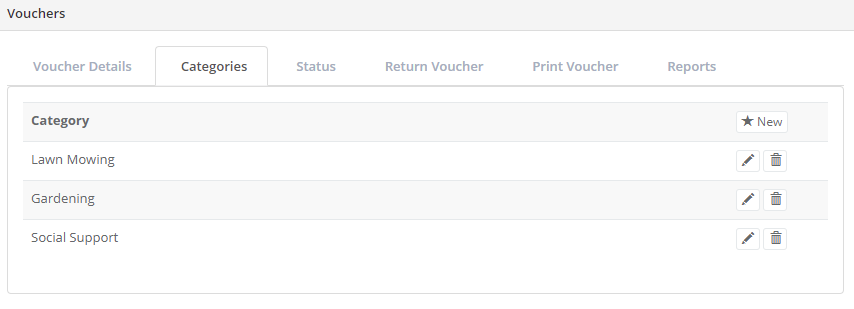
Vouchers can be arranged into categories that contain defaults for default values, use this page to create and edit them. When creating a voucher, if placed in a category it pick up that category’s value, minimum value per use and minimum co-payment which can easily be adjusted as needed within the voucher.
\
Status
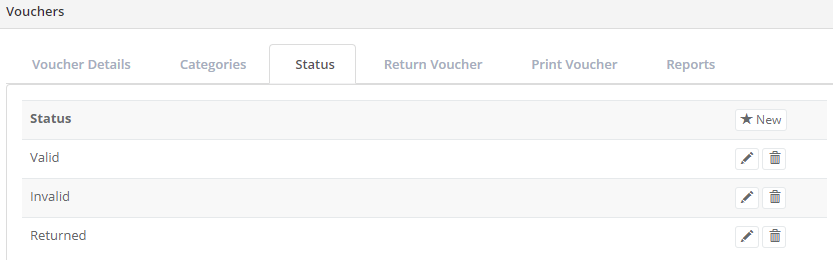
Over its lifespan, a voucher will be created but unassigned, assigned, used, marked as invalid and/or returned. You can add/edit voucher status options here.
Return Voucher
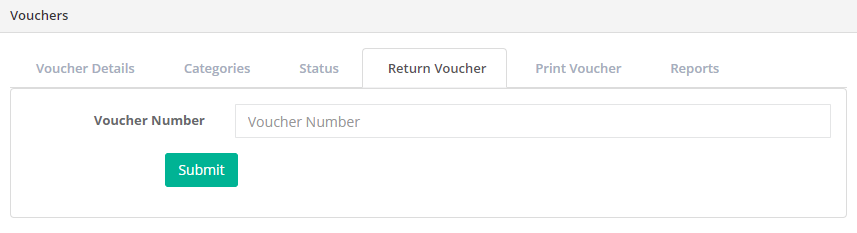
Use this page to return vouchers by entering in the voucher number.
\
Print Voucher
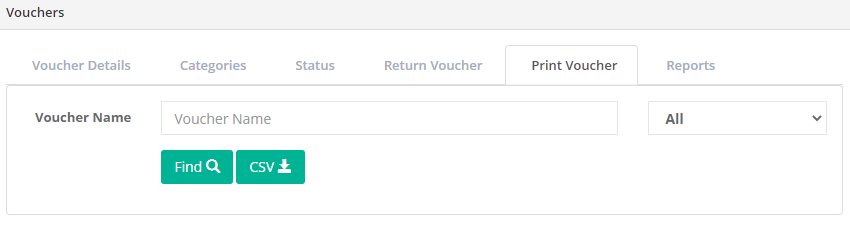
Vouchers can be printed off by finding the voucher(s) you want and by clicking Print at the bottom of the page. The CSV button will allow you to print out a list of addresses for the clients the vouchers are assigned to.
Reports
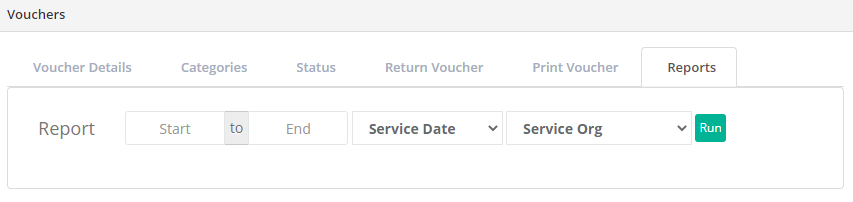
Run a report to get an overview of vouchers from your organisation. Select a date range by clicking in the date fields, select ‘Service Date’ or ‘Returned Date’ from the drop-down box from the right and if you wish a Service Organisation. After clicking Run, a list of all vouchers meeting the above criteria will be displayed. At the bottom of the list will be the statistics for the vouchers, and the option to Print the report.
Narrow down the list further by using the options to select All, Active, Expired or Disabled, and/or using the fields underneath that then clicking Search.