
User Guide: The Xero Invoice Process
Document Overview
This document is designed to assist in preparing invoices for your Participants for Xero Financial Integration
Prior Integration steps required
Prior to commencing invoicing, please ensure that the following has been setup CareMaster:
1. Contacts
2. Products & services
3. Tracking Categories
Refer to the Xero Pre-invoicing Setup Guides
Step 1: Prepare Supports for Invoicing
For a support to be invoiced. It must have a Checked status. This can occur when a worker starts and ends a support correctly in the worker app, however there are a few reasons where this may not occur and you will need to manually complete this action due to:
Worker not starting the support.
No worker applied to the support.
The support was cancelled but still selected to be charged.
Go to the Supports → All page from the left-hand menu for the search filter.

Choose your required date range. You can select a Xero Calendar period if preferred.
Change Any Checked status to Not Checked.
Select Any Status instead of Not Cancelled – this will make sure if you have cancelled a support with a participant chargeable cancellation code applied, it will be invoiced.
And Search 
It will then display all of the supports that need to be Checked. You can do this now by clicking on the Checked tickbox.
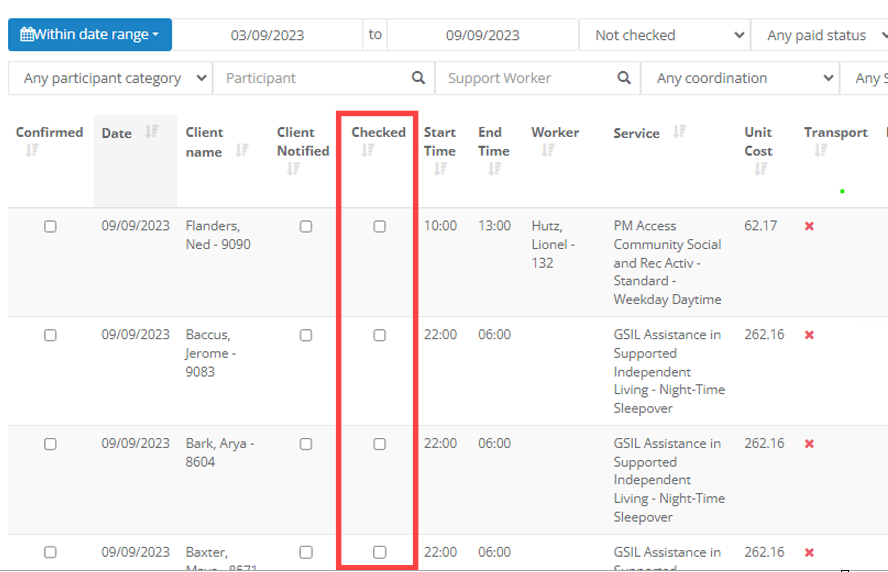
These can be Checked individually or you can use the Manage button to perform this in a bulk action.
As you Check them, you may receive an error message like below:
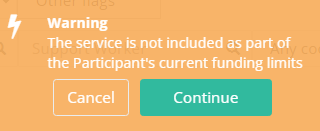
Please review the Participant Profile → Funding information to make sure the correct funding is applied as needed.
Once Checked, it will then display .

**Be careful not to ‘Check’ any supports in the future as this will stop any allocated workers from Starting / Ending the support in the Worker App as it will be effectively marked as completed.
**Checking supports is also a Timesheet required activity however complete the full search action as advised above to make sure all required invoices are generated.
Using the Manage Button

The Manage button is a powerful bulk editing function. Please use carefully.
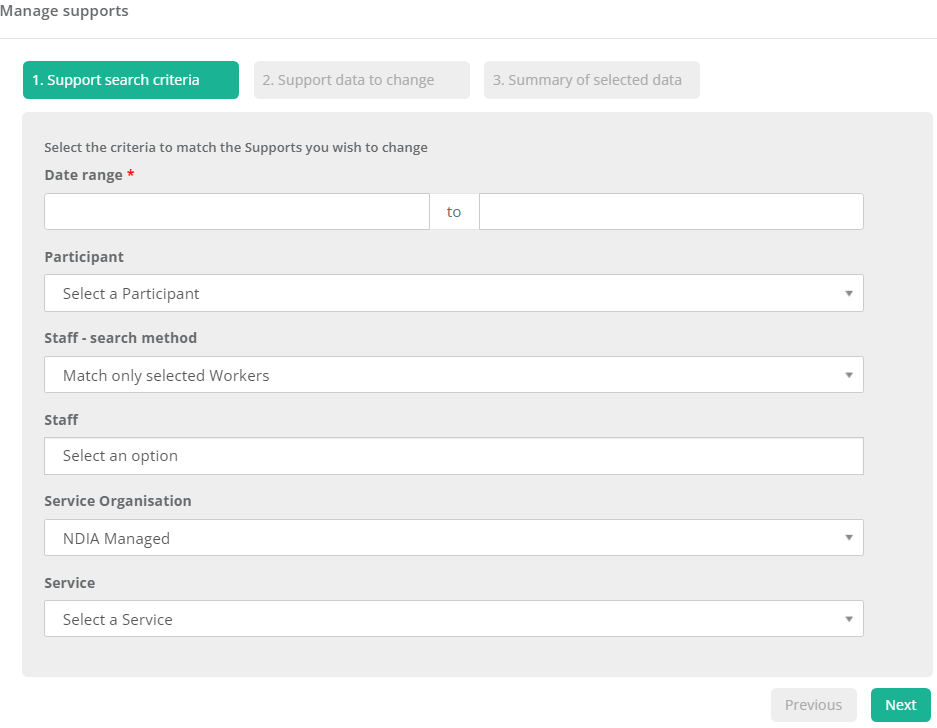
It has 3 stages.
Select the search criteria you want to change .i.e. choose a date range
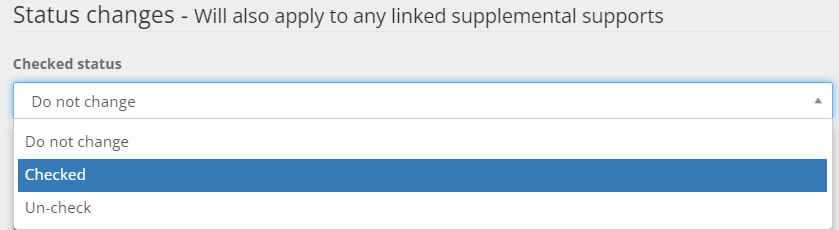
Select the change you want to make .i.e. Status Changes
 Review your selected data and

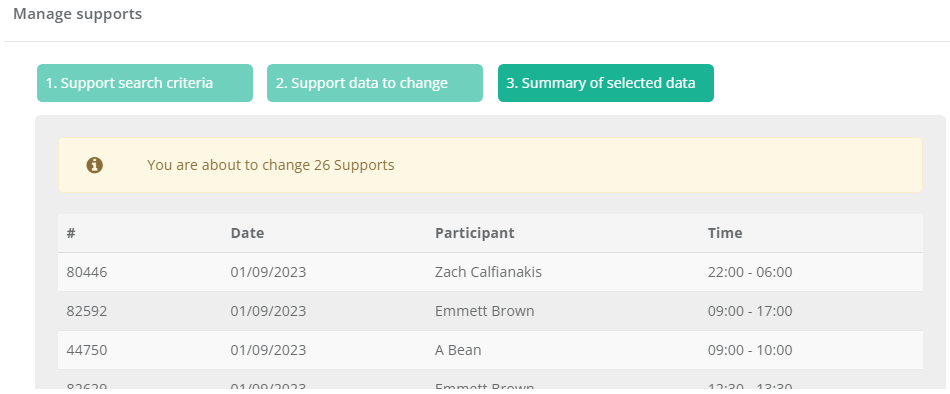 This will update all selected supports to a status of Checked.
Step 2: Generating Invoices in Xero
Go to Admin → Integrations → Xero → Invoices.
This can also be access via Admin → Integrations → Xero → Dashboard → Invoices.
Here you can view, edit and send your invoices to Xero to then send them to your paying contacts.
It is a good idea to begin by pressing the Refresh Recently updated button. This will make sure all other Xero Invoice data is synced with up to date.
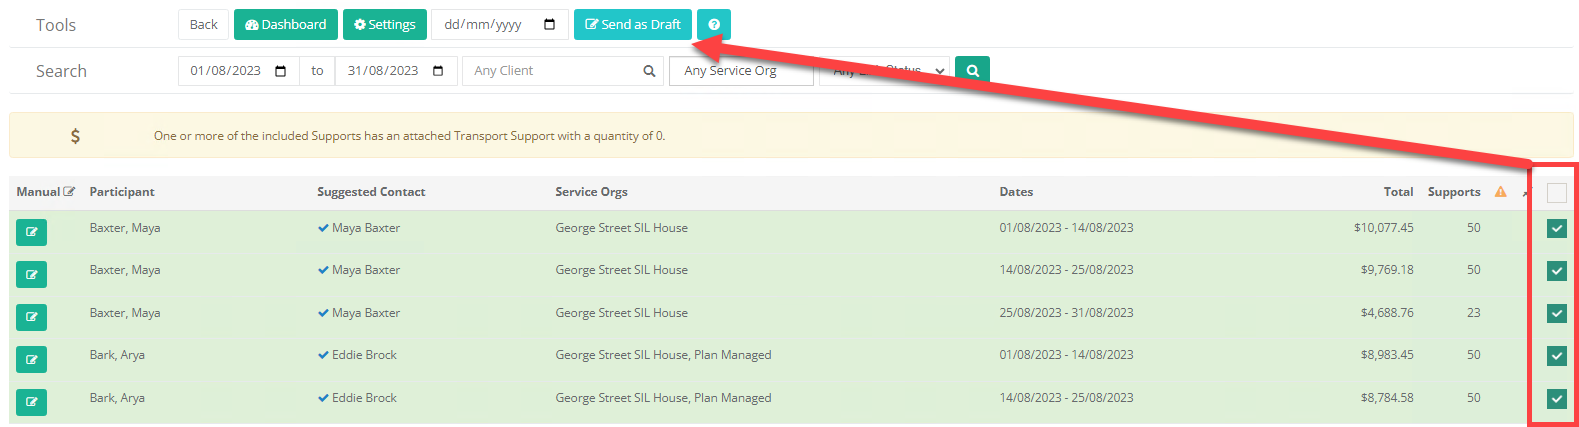
The screen will display as per below. FYI the visible search function is for already created Invoices.
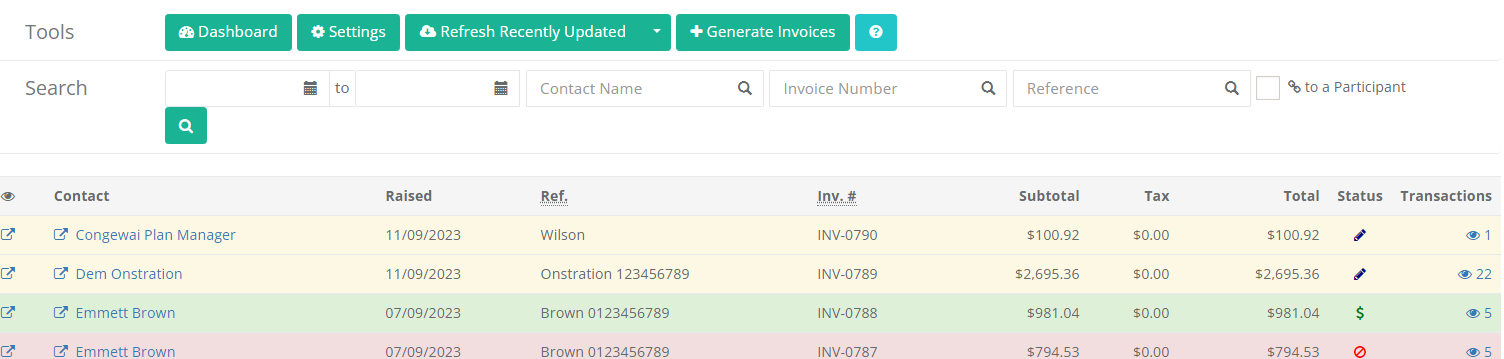 Press
Press
 to begin for your current period.
Now you can search for your required Invoices. You can drill down further by searching for:
Date Range
A Specific Client
A specific Service Organisation
If a Participant has been linked to a Xero Contact or not
 It will then show you the available invoices for your selected search options.
It will also show you any issues that need addressing such as
No linked Xero Contact;
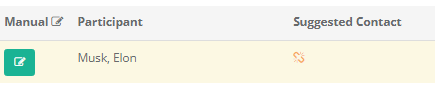 Or a Transport with a quantity or 0;
This is where Transport was ticked on the Support but no KM’s were entered. It is flagging for a check as apposed to saying it is wrong. Confirm or update to proceed.

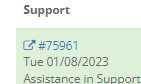
Below is how it shows you which support is impacted.
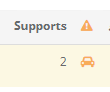 From here you can select the Invoices you want to approve and send as draft by ticking the tickbox and then

 If required, you can edit or manually approve an invoice by clicking
This will give you the option to view the specific details of each individual support within the customer Invoice and edit some fields such as;
Item Code
Account and Tracking fields
You can click on the individual support reference number and be taken to the Support Edit page. Any changes you make will be reflected in the invoice you are currently generating.
 You can also Save as draft here / Submit for Approval or Approve.
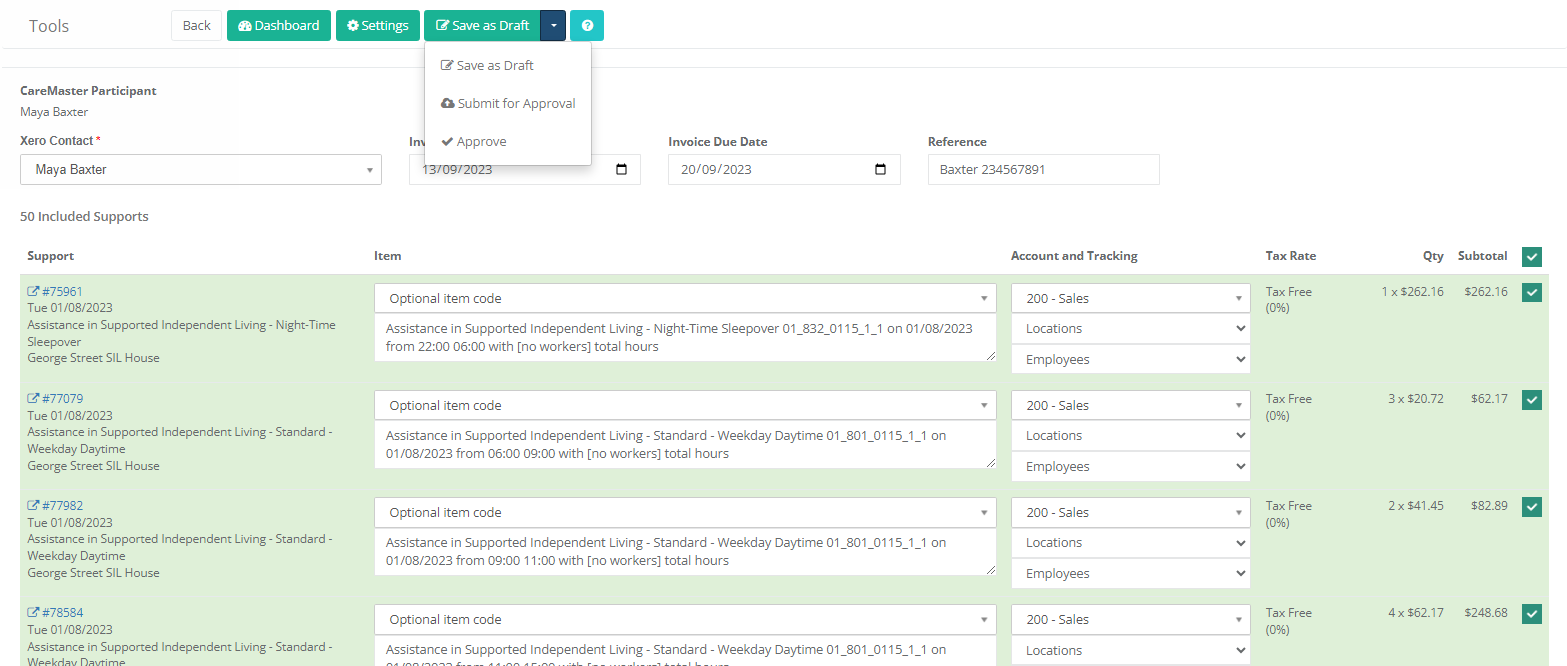
**You can deselect individual supports here and they will not be sent to Xero with the rest.
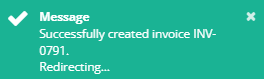
If you Save as Draft individually it will display
 and
and 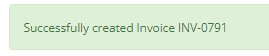 Continue saving as draft individually or in bulk as shown earlier. These have now been sent to Xero.
Step 3: Viewing Generated Invoices
Go to Admin → Integrations → Xero → Invoices.
**Please look for the Help Icon for additional information on any page:

The generated Invoices will be listed like below.

 Draft: The invoice is in DRAFT mode and can still be edited
  Submitted: The invoice has been submitted and is awaiting approval
  Authorised: The invoice has been approved and is awaiting payment
  Paid: The invoice has been paid in full
  Voided: The invoice has been voided
  Deleted: The invoice has been deleted
If you DELETE or VOID the invoice in Xero, it will also delete the invoice in CareMaster when you press
 This will enable the relevant supports to be reinvoiced via the Generate Invoice process. If they had been marked as PAID, this will be removed as will any pre assigned invoice number.
Step 4: Invoices within Xero
In Xero you can see your Draft Invoices.
Go to Business → Invoices
Select Draft 
You can select the individual or all invoices using the check box
 and the action options will become available;

From here you can Approve the invoices and Email them to your payees in bulk.
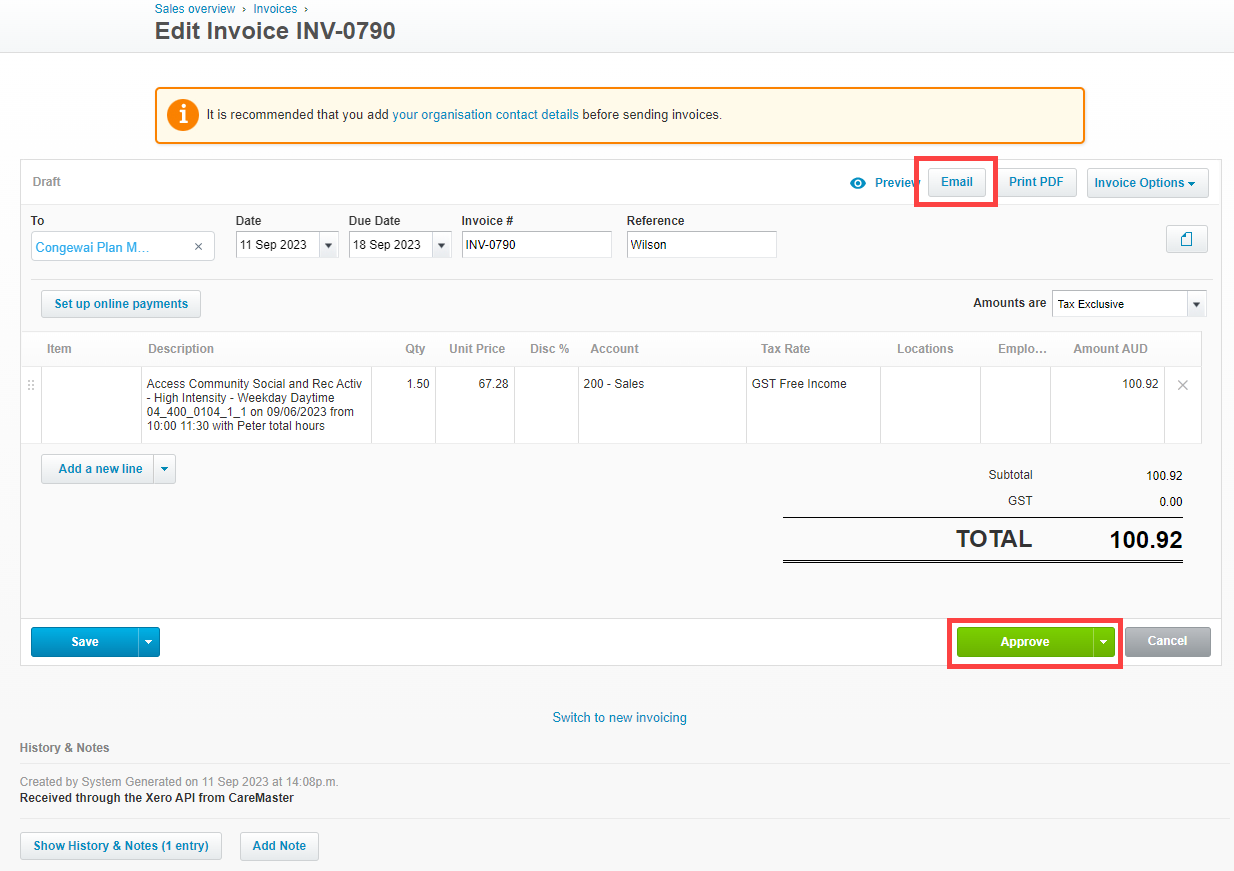
Alternately you can select the Invoice number i.e. (INV-0790) to review and individually action the approval and emailing.
Invalid Children warning message
During invoicing you may see the following warning.
The Invalid Children message is just a warning, and will not impact or deter you from your invoicing.
CareMaster is detecting that the Child (Transport) is invalid, as the 'Includes Transport' tickbox has been selected, but the non labour transport costs assigned a service.
When invoicing, the child non labour transport service was looking for a transport component i.e. cost/quantity, but as this has been left blank in the support, it picked it up as a warning.
Syncing Invoice data
To ensure CareMaster has up to date Status information about Xero Invoices the Refresh Recently Updated button is used. NOTE: clicking the Refresh Recently Updated button will refresh Invoice data changed in the past 2 weeks, to refresh further back than this, click on the arrow on the right of the button to choose a different length of time from the drop down list.